If you’ve ever gazed at a breathtaking photograph, chances are you’ve noticed those dazzling bursts of light that seem to weave magic into the image. That’s lens flare at work—a captivating visual effect that adds depth and drama to your photos. With the right tools, like Photeeq, mastering lens flare can transform ordinary shots into extraordinary pieces of art. Whether you’re a seasoned photographer or just starting out on your creative journey, understanding how to wield this powerful technique can elevate your visuals significantly. Ready to explore the fascinating world of Photeeq lens flare? Let’s dive in!
The Basics of Lens Flare
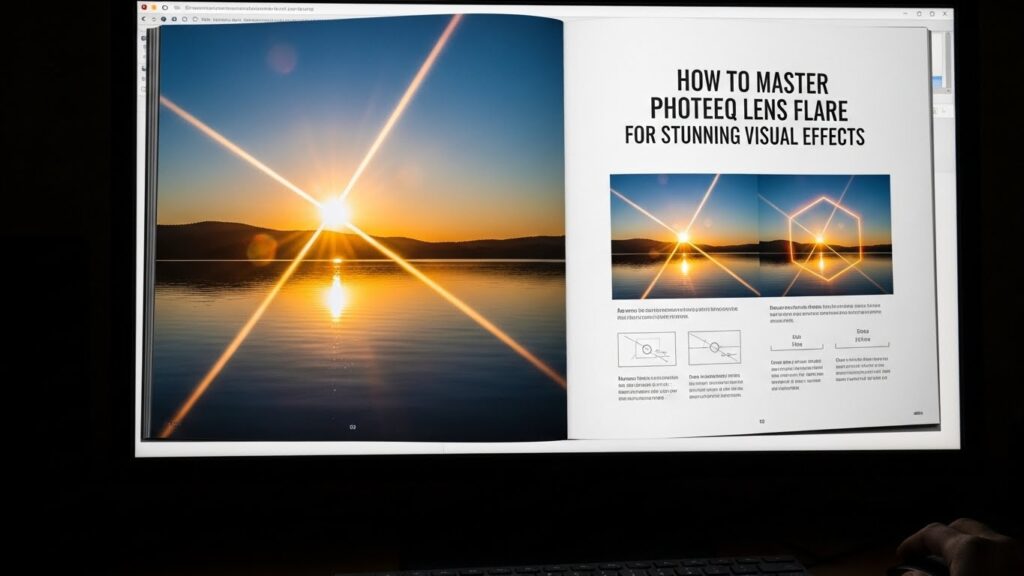
Lens flare occurs when bright light sources hit your camera’s lens directly. This creates those distinctive streaks or orbs of light that can be both beautiful and distracting.
Typically, you’ll see lens flares in images captured against the sun or other strong light sources. They add an ethereal quality to photos, giving them a dreamy feel.
Understanding how lens flare works is crucial for any photographer looking to enhance their visuals. It’s not merely a flaw but a creative tool that provides depth and interest.
Different lenses yield varying types of flares, from soft halos to sharp geometric shapes. Experimenting with angles and lighting will help you discover what suits your style best while using this captivating effect effectively.
Understanding Photeeq for Lens Flare Effects
Photeeq is a powerful tool designed for photographers and graphic artists alike. Its capabilities extend beyond standard editing, specifically when it comes to lens flare effects. Understanding its features can unlock new creative potential.
The software allows you to manipulate light in dynamic ways. You can adjust the intensity, color, and position of the lens flares with ease. This flexibility means that your visuals will maintain their unique character while achieving stunning results.
Photeeq’s interface is user-friendly but rich in options. As you delve deeper, you’ll discover layers of customization that let your imagination run wild. Whether you’re enhancing landscapes or adding drama to portraits, Photeeq provides the perfect canvas for experimentation.
Exploring presets can also be beneficial as they offer quick inspiration without losing originality. They serve as starting points from which you can personalize your work further—making each piece truly yours.
Tips and Tricks for Creating Stunning Lens Flare Effects
To create stunning lens flare effects, start by choosing the right source of light. A bright sunlight or an artificial flash can produce captivating results. Position your subject so that the light interacts with it creatively.
Experiment with different angles. Move around until you find a spot where the flare complements your composition without overwhelming it.
Utilize layers in Photeeq. Overlaying multiple flares can add depth and dimension to your image, resulting in a more polished look.
Don’t shy away from playing with opacity settings. Adjusting how transparent or vivid your lens flare appears will help integrate it seamlessly into your photos.
Remember to keep it subtle sometimes. A delicate touch often creates an elegant vibe that enhances rather than distracts from the main subject.
Mastering the Use of Color in Lens Flare Effects
Color plays a pivotal role in enhancing lens flare effects. It can transform an ordinary scene into something extraordinary.
Start by considering the mood you want to convey. Warm colors like oranges and yellows evoke feelings of warmth and nostalgia, while cooler tones such as blues and greens create a sense of tranquility or mystery.
Experiment with color intensity to find the right balance. A subtle touch might be all you need for an ethereal look, whereas vibrant hues can energize your composition.
Layering colors adds depth too. Overlay different shades within your lens flare to achieve complexity that draws viewers in.
Don’t forget about contrast! Pairing bright flares against darker backgrounds makes them pop, making your visuals more striking.
Using Photeeq’s features allows fine-tuning of these color elements seamlessly—giving life to your imaginative vision every time you click “apply.”
Adding Depth and Dimension with Photeeq Lens Flare
Adding depth and dimension to your photos can transform a simple image into a captivating visual experience. Photeeq lens flare effects are perfect for achieving this.
Start by layering the flare elements. This technique creates an illusion of distance, pulling viewers deeper into your composition. Position flares closer to the focal point for emphasis while placing others further back to establish perspective.
Experiment with opacity levels as well. Lowering the opacity on certain layers allows background elements to peek through, adding complexity without overwhelming the main subject.
Consider light direction too. Aligning flares with natural light sources in your images enhances realism and guides viewer attention where you want it most.
With these strategies, using Photeeq lens flare becomes more than just an effect; it’s a method for enriching storytelling within your visuals.
Common Mistakes to Avoid When Using Photeeq for Lens Flare
When diving into the world of Photeeq lens flare, it’s easy to get carried away. One common mistake is overusing the effect. Too much flare can distract from your subject rather than enhance it.
Another pitfall is ignoring lighting conditions. Natural light plays a crucial role in how lens flares appear. Always consider your environment and adjust accordingly for more authentic results.
Failing to experiment with different settings can limit creativity. Don’t hesitate to play around with intensity, color, and position until you find what works best for your image.
Neglecting post-edit adjustments can leave images looking flat or artificial. Spend time refining elements like brightness and contrast after applying the lens flare to achieve a polished final look. Each small adjustment contributes significantly to the overall impact!
Conclusion: Unleashing Your Creativity with Photeeq Lens Flare
Embracing the power of Photeeq lens flare can elevate your visual creations to new heights. By mastering the techniques outlined in this guide, you’re well on your way to producing stunning images that capture attention.
Experiment with different settings and styles. The beauty of lens flare lies in its versatility; it can add warmth or drama depending on how you use it. Play around with colors and intensities until you find what resonates with your artistic vision.
Remember, practice makes perfect. Don’t shy away from making mistakes—they’re often the best teachers. Each attempt brings you closer to understanding how light interacts within your compositions.
As you explore the world of Photeeq lens flare, allow yourself to be bold and innovative. Your creativity knows no bounds when harnessed effectively, resulting in breathtaking visuals that showcase both skill and artistry. So go ahead—unleash your imagination!